Polar SEO Checklist
10 step checklist that covers the essential steps to get the most out of Webflow SEO
Step 1
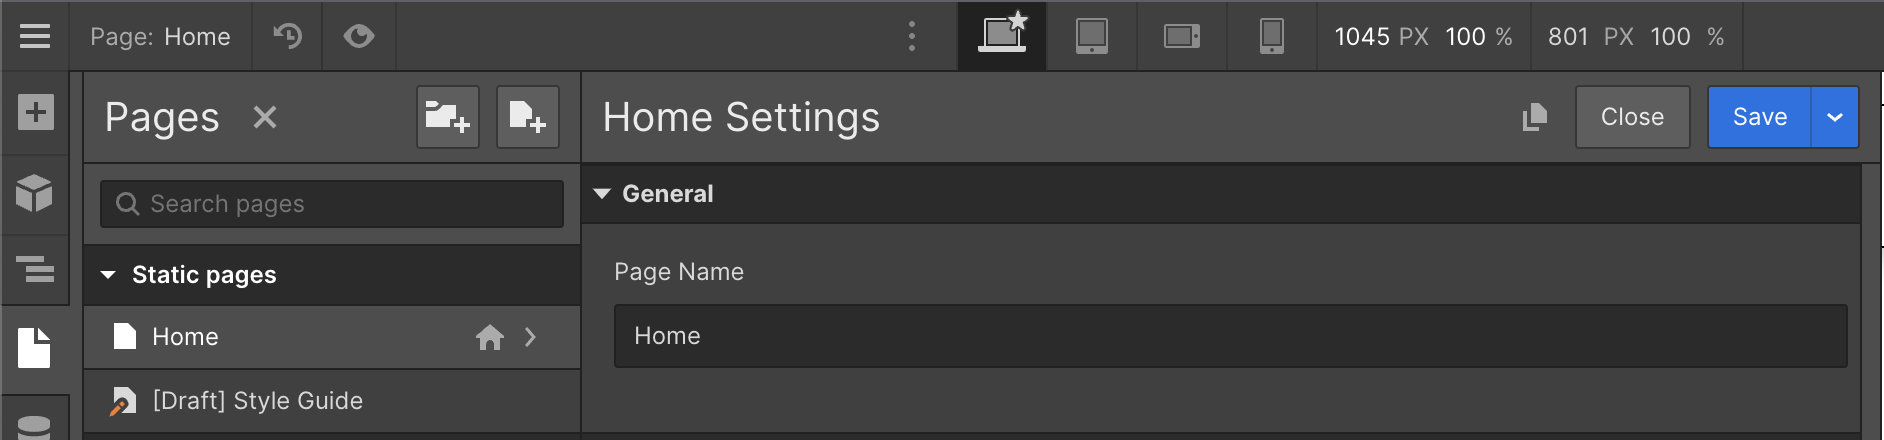
- Head to your page settings.
- Scroll down to the area shown in this image.
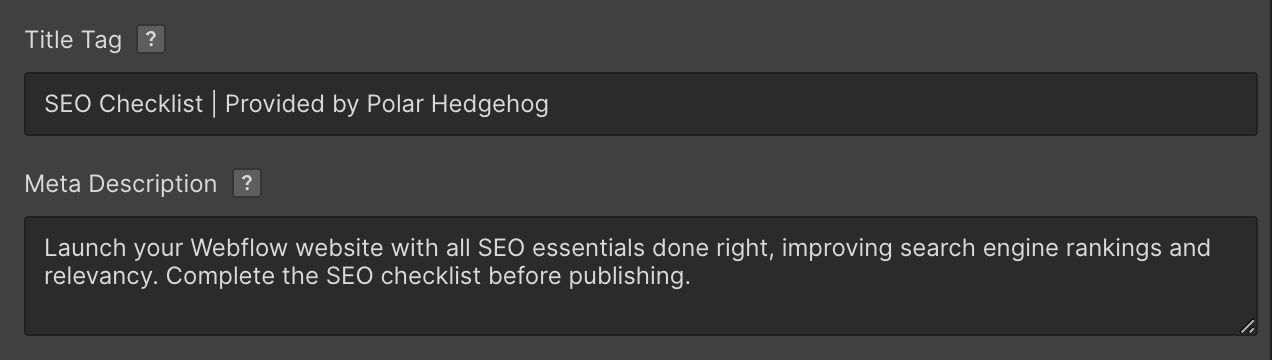
- Place your Title Tag here (60 characters or less).
- Place your Meta Description here (160 characters or less).
- Make sure to complete this for each page.
- Feel free to jump to Step 10 while you're in the page settings.
Step 2
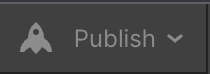
- Click on Publish in the top right of the Designer.
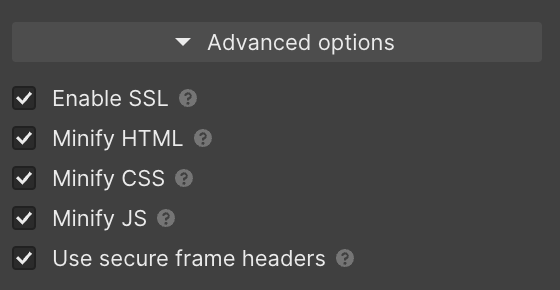
- Enable all Advanced options shown in this picture.
- This helps with page load speed.
Step 3
- Go to Project Settings (Top left of the Designer).
- Click on the Publishing tab.
- Set your Default Domain (We strongly recommend the "www." version).
- Not setting a Default domain could cause duplicate content. This could seriously hurt rankings or even de-index the pages from Google.
- Most DNS providers (I.E. Google Domains) do not support the "non www." version also known as the root domain. Check this with your DNS provider.


Step 4
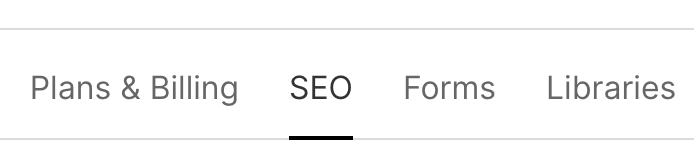
- Click on the SEO tab.
- Disable Indexing of your webflow.io domain.

Step 5
- Setup your robots.txt
- Copy using the button below and paste in your robots.txt
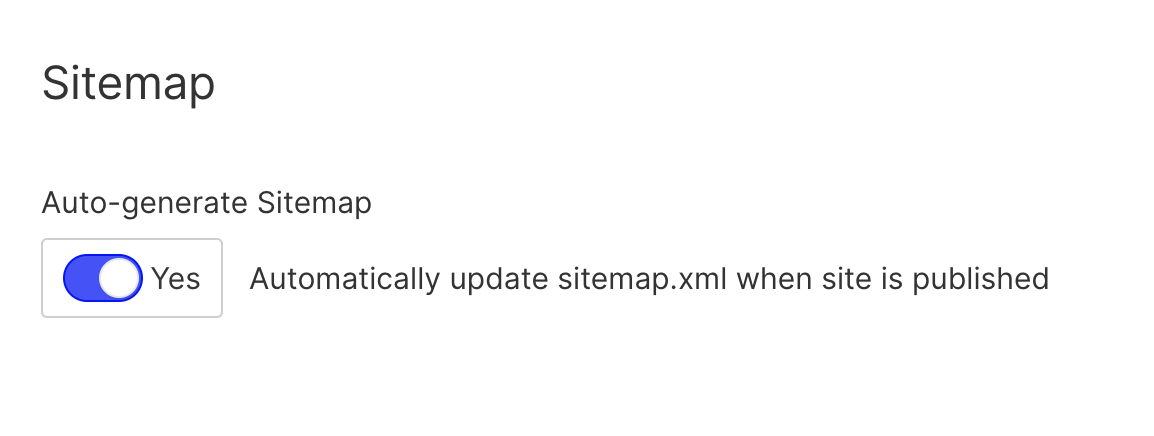
- Enable Auto-generate Sitemap.

Step 6
- Place your Google Site Verification code here.
- You will find this in your Google Search Console settings.
- Place your website URL under Global Canonical Tag URL.
- This needs to match your Default Domain.


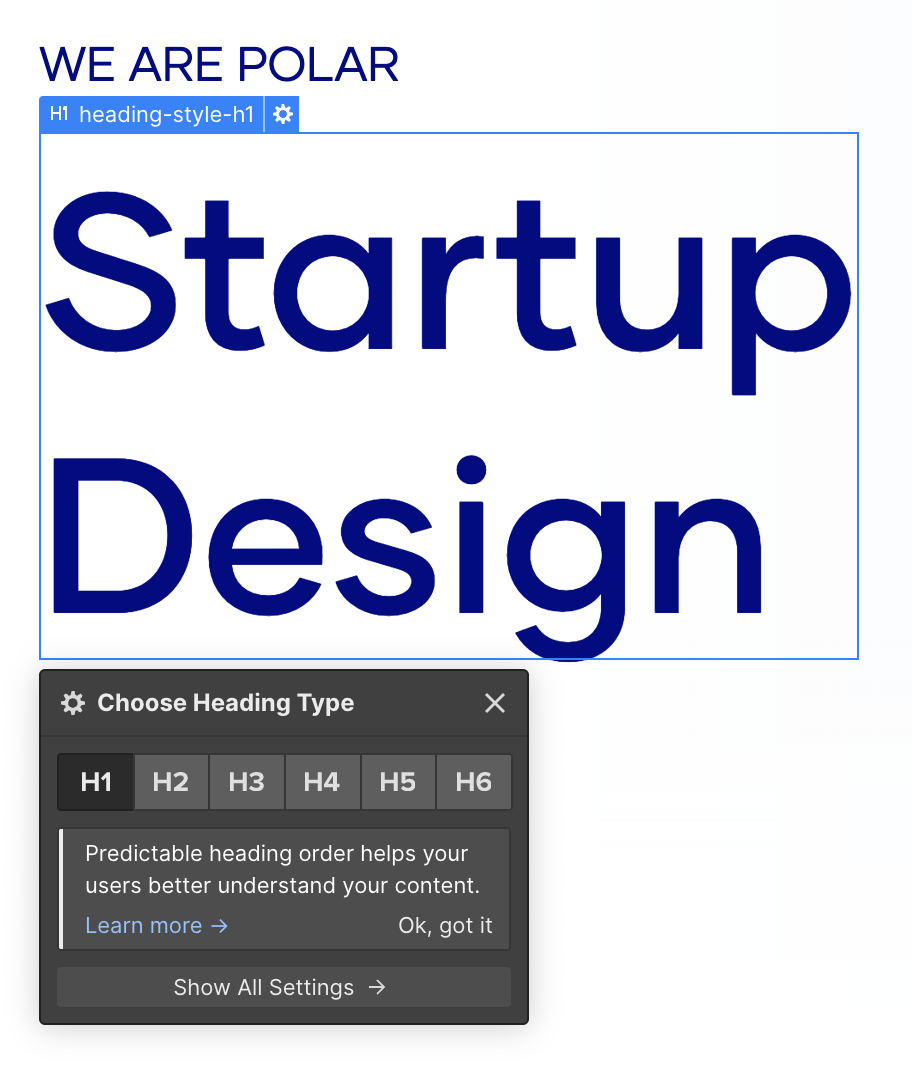
Step 7
- Use Headings to guide people and search engines through your content.
- Click on any heading title and click the gear (⚙) icon.
- There are 6 options for Headings ranging from largest to smallest: H1, H2, H3, H4, H5, and H6.
- The top level heading should be H1.
- Other sections of your site may contain subheadings, these typically consist of H2s. H3s can be nested under H2s and so on.
- Headings should be concise, unique to the page you’re on, so repeat this process on every page.
Step 8
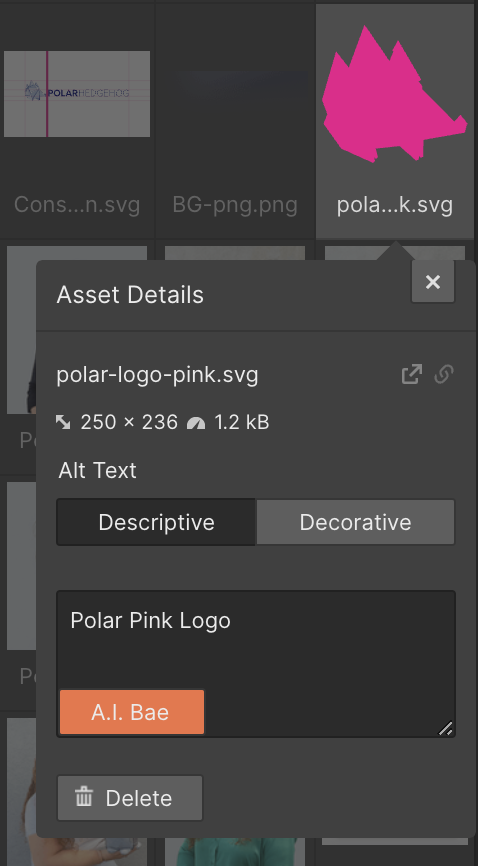
- Go to the Assets Panel.
- Hover over any image and click the gear (⚙) icon.
- Add Alt Text to every image/icon.
- This helps with SEO and Accessibility.
- Want to use AI to do this faster? Add this Chrome Extension to auto generate your Alt Text (built by @WebIsBae).
Step 9
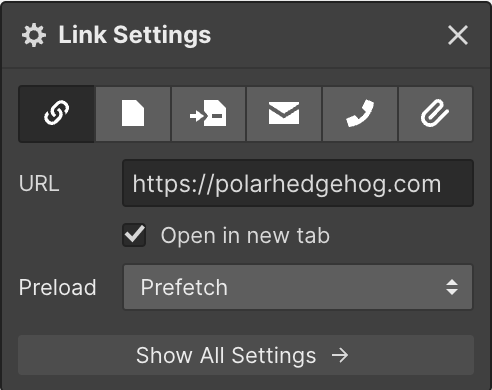
- Click on any link in your project and set the Preload option to Prefetch.
- This improves the UX and makes navigating between pages much faster.
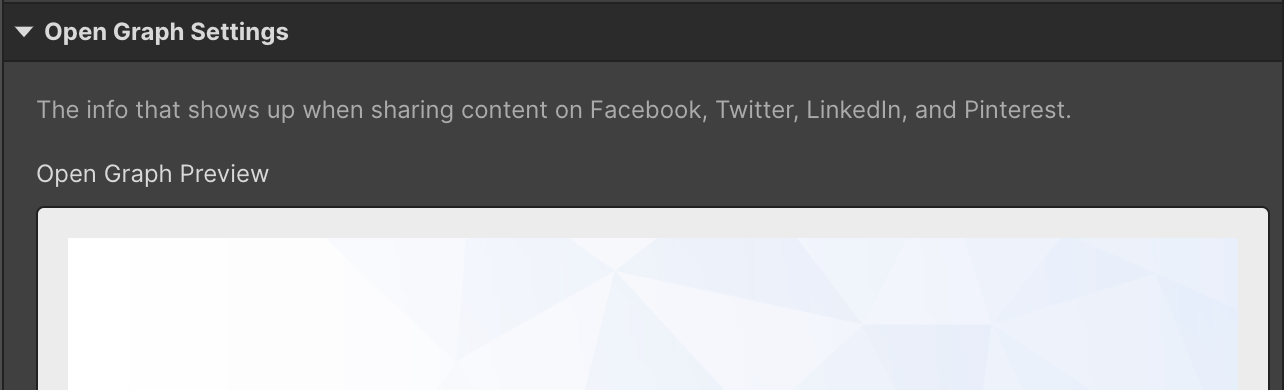
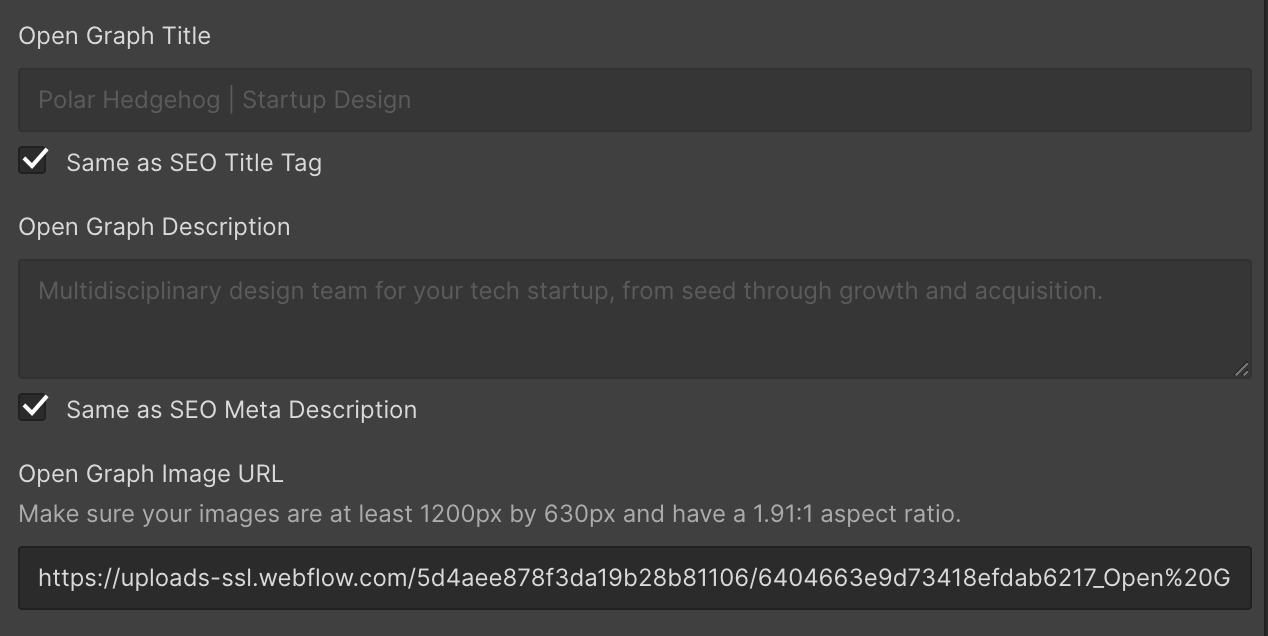
Step 10
- Head to your page settings.
- Scroll down to the Open Graph settings.
- Open Graph settings show up when sharing your website link on social media.
- These are easily filled in by sharing your page title tag and meta description.
- You may want to use different settings for social media (there isn't a right or wrong answer).
- To get your image link, head to the asset panel.
- Hover over the image you want to use and click the gear (⚙) icon.
- Click the link icon.
- Paste that link in your Open Graph Image URL.